React Native install & configure development environment
Installation and configuration guide of all the required components for Windows + Android based development environment

Installation and configuration guide of all the required components for Windows + Android based development environment in this Article we will:
Install React Native CLI pre-requisites
Install and configure Android Studio
Setup Android Virtual device
Install Yarn package manager
Install VS Code
Validate our installation
React Native CLI Installation pre-requisites
Node, Python2, JDK recommended installing Node and Python2 via Chocolatey, a popular package manager for Windows. install Chocolatey following the instructions in the link below:
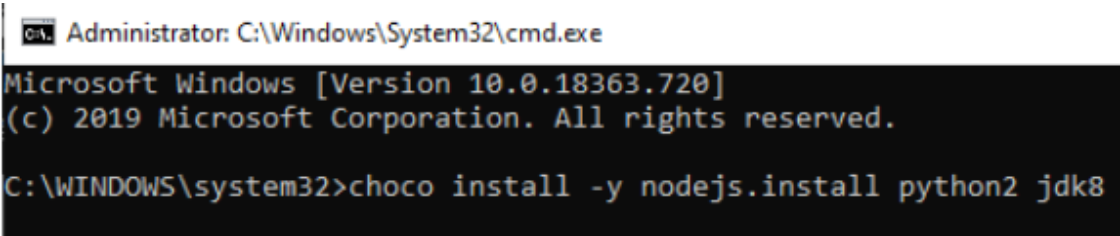
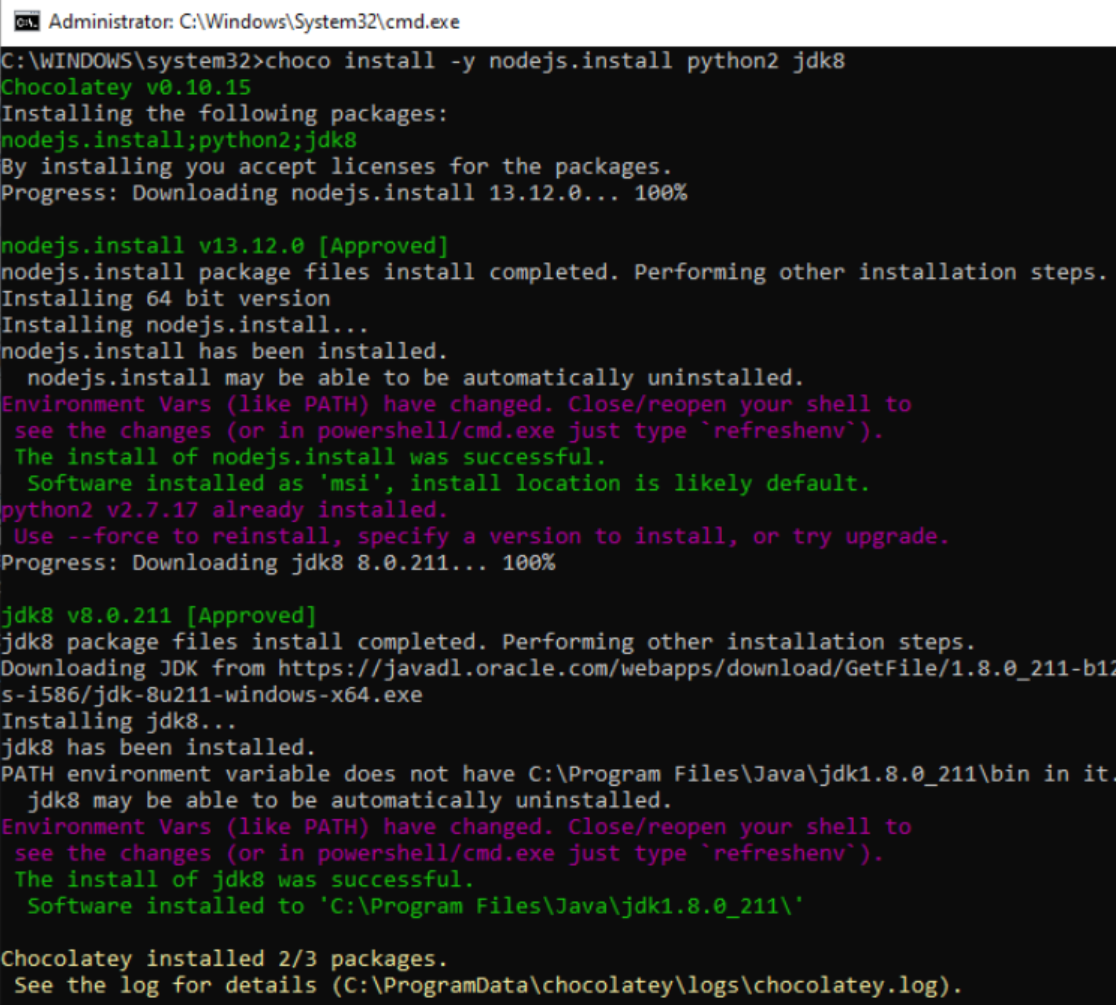
React Native also requires a recent version of the Java SE Development Kit (JDK), as well as Python 2. Both can be installed using Chocolatey. Open an Administrator Command Prompt (right click Command Prompt and select "Run as Administrator"), then run the following command:
choco install -y nodejs.install python2 jdk8
We will not directly install React Native CLI, instead we will use npx (package execution tool included with Node) to run react-native commands.
With this approach npx will download and use the latest version of react native CLI at the time we want to run any react-native command.
You can check the link below for more details selecting the options React Native CLI Quick start, development OS as Windows & target OS Android
Android Studio
Android Studio is the official integrated development environment (IDE) for Google 's Android operating system.
we will not use it for coding, as we will use VS Code but we will leverage AVD virtual device capabilities to run our code in emulator so we need to install it.
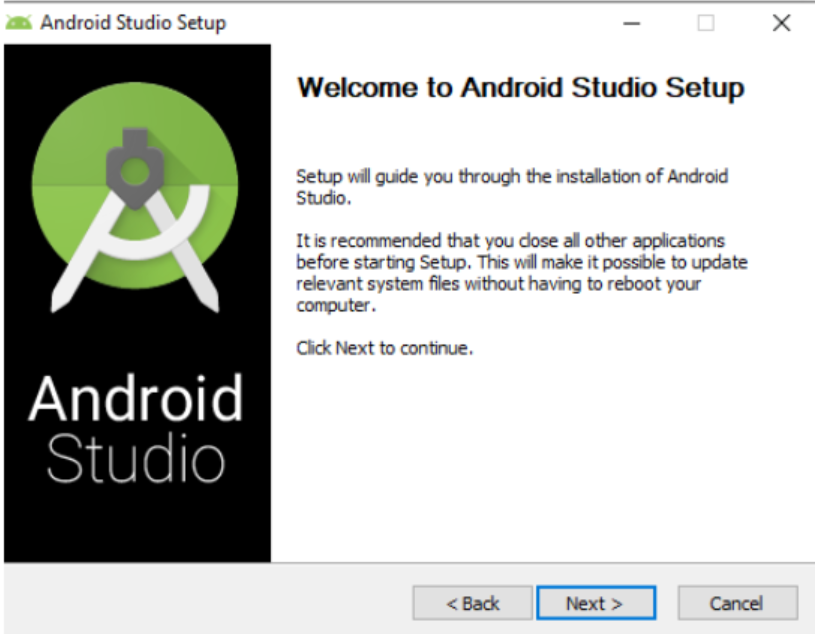
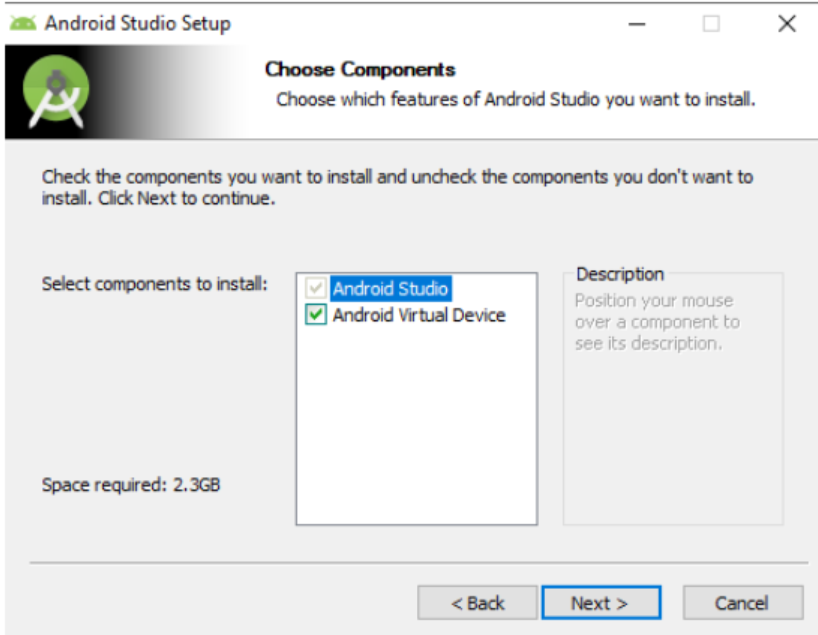
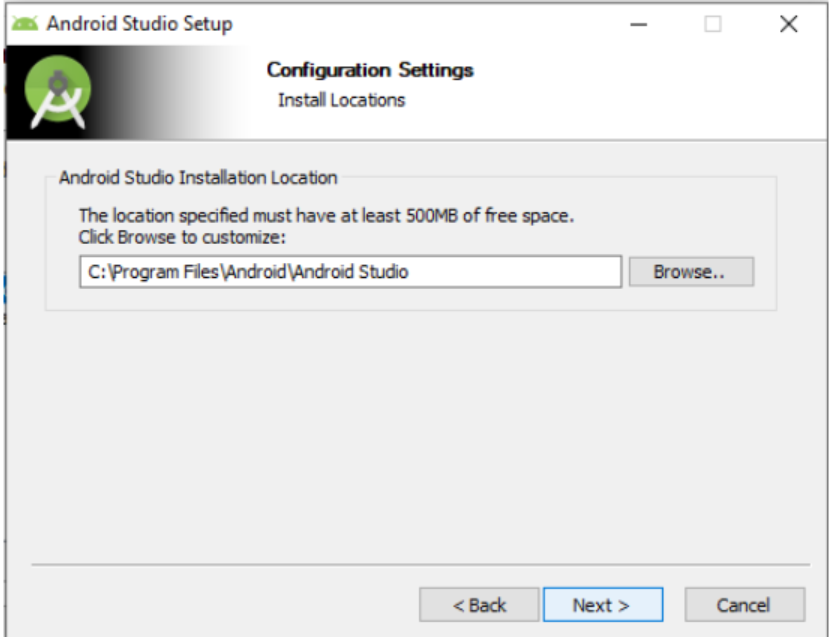
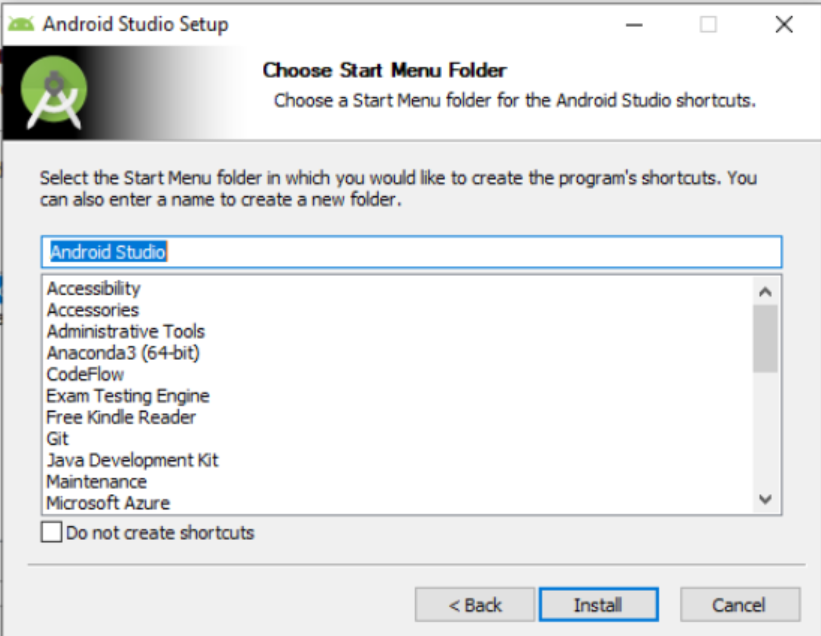
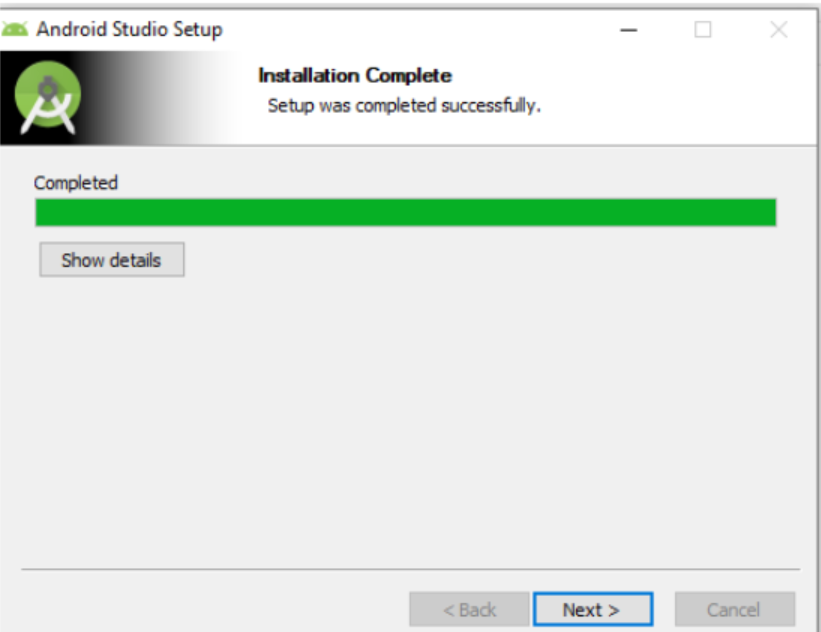
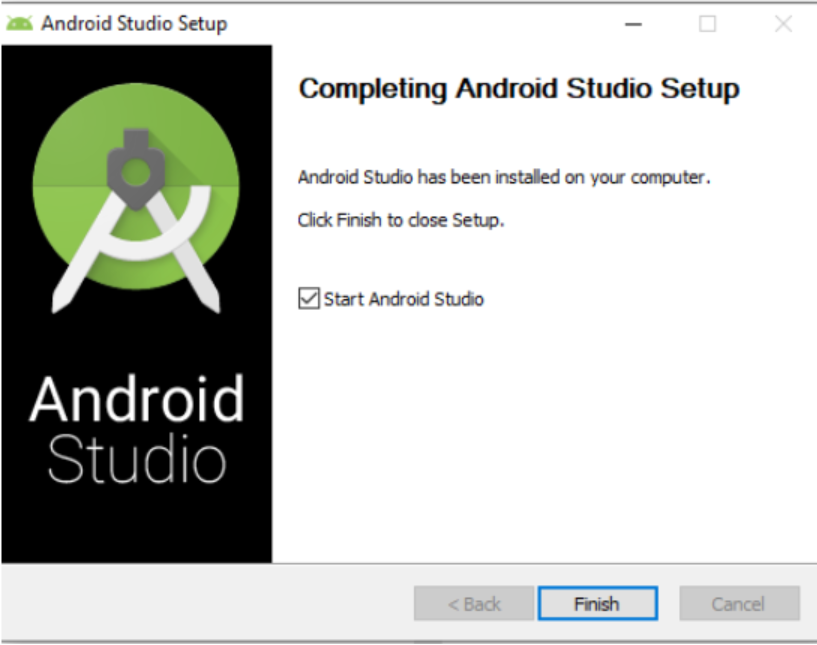
1. Install Android Studio
Download and install Android Studio.
Android Studio installs the latest Android SDK by default. Building a React Native app with native code, however, requires the Android 9 (Pie) SDK in particular. Additional Android SDKs can be installed through the SDK Manager in Android Studio. The SDK Manager can be accessed from the "Welcome to Android Studio" screen. Click on "Configure", then select "SDK Manager". after install access settings from File menu and navigate to android SDK under System settings
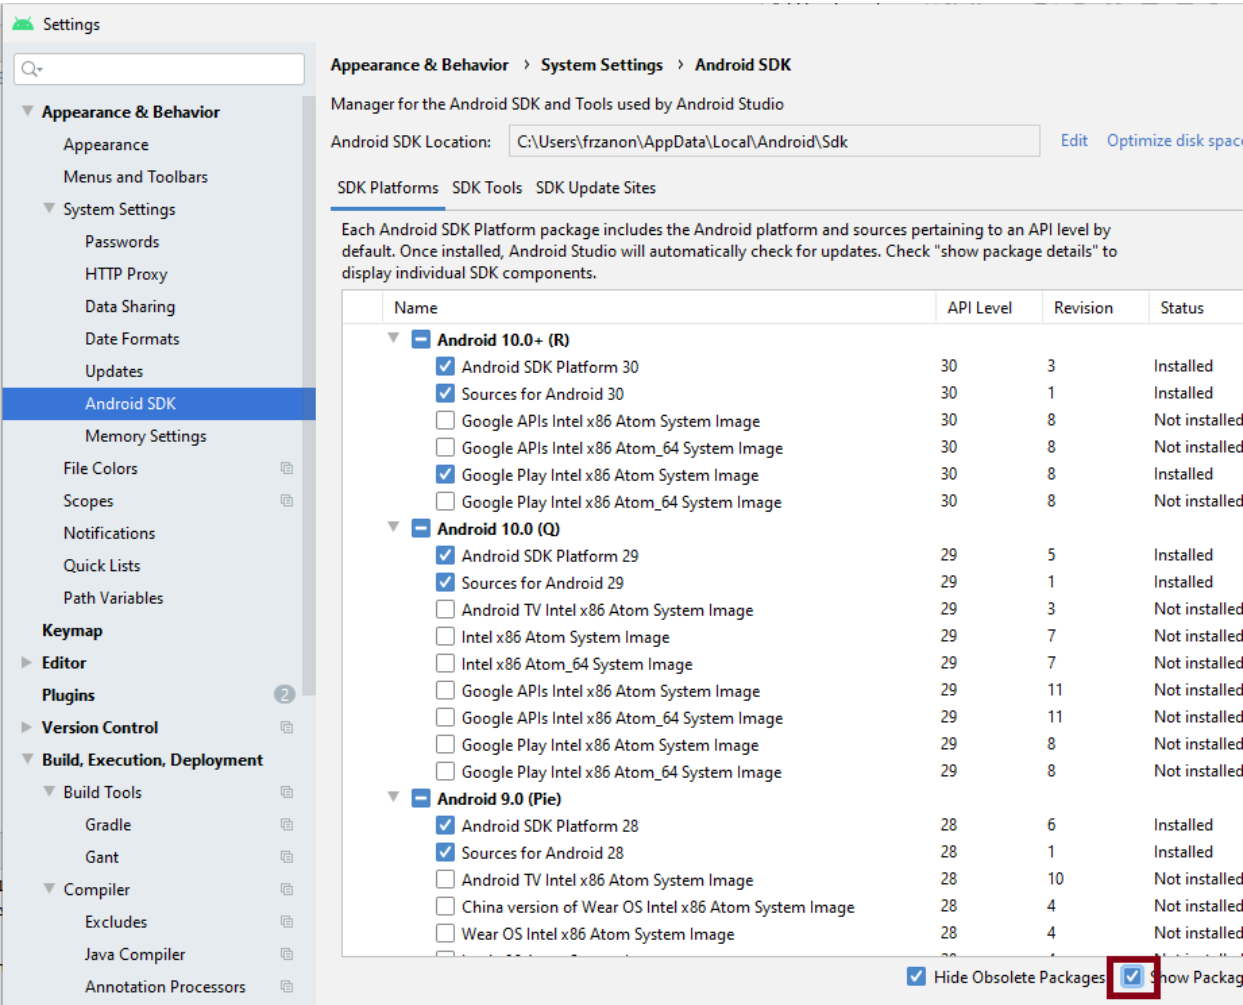
Make sure the boxes next to all of the following are checked: Android SDK platform Select the "SDK Platforms" tab from within the SDK Manager, then check the box next to "Show Package Details" in the bottom right corner. Look for and expand the Android 9 (Pie) entry, then make sure the following items are checked: Android SDK Platform 28 Intel x86 Atom_64 System Image or Google APIs Intel x86 Atom System Image
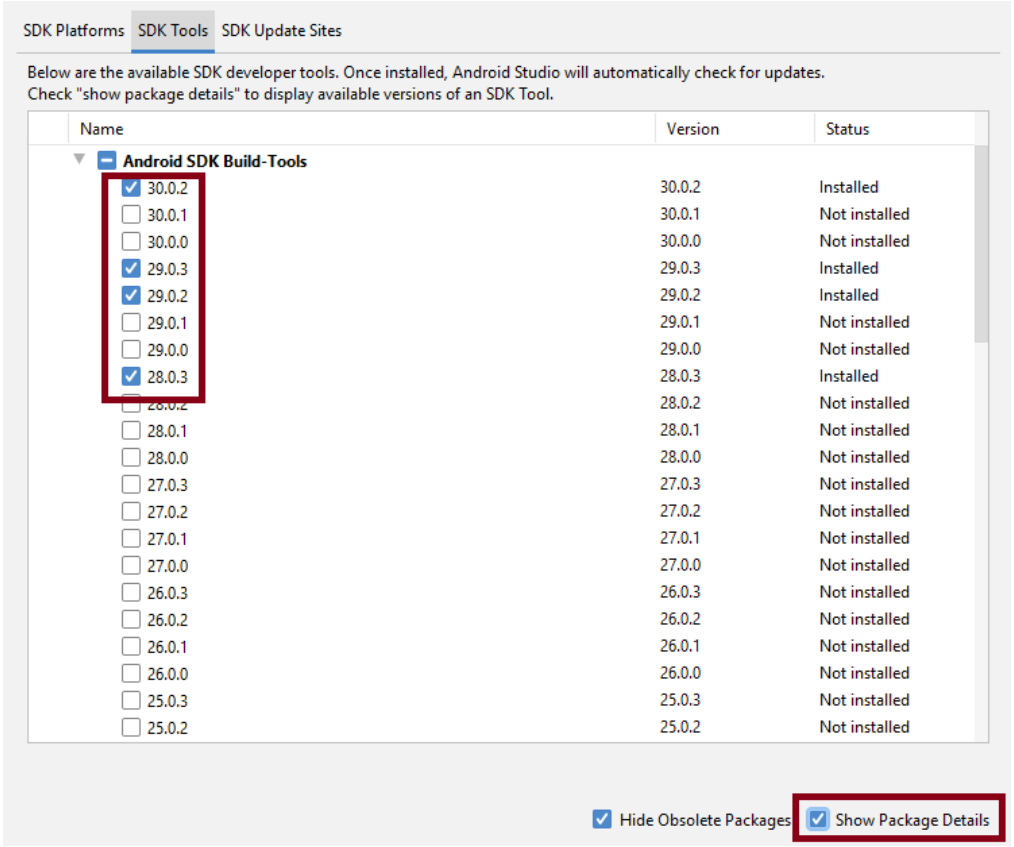
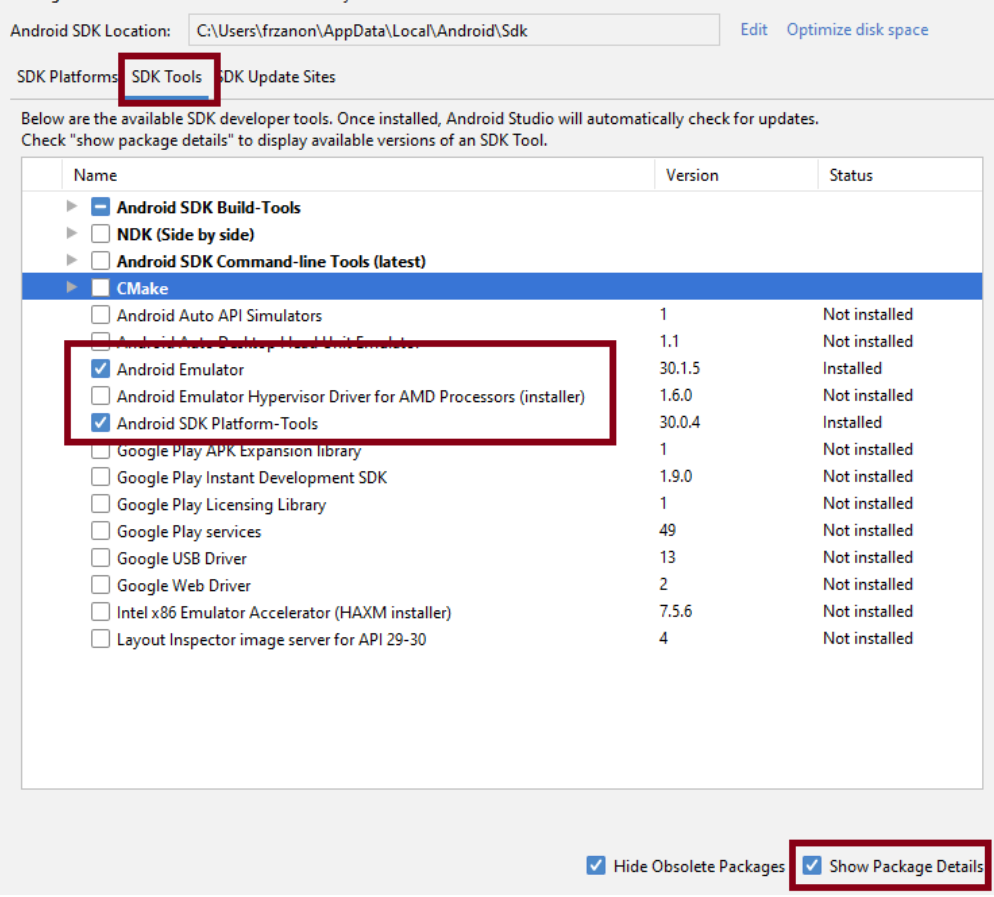
2. SDK Tools
Next, select the "SDK Tools" tab and check the box next to "Show Package Details" here as well. Look for and expand the "Android SDK Build-Tools" entry, then make sure that 28.0.3 is selected.
3. Configure the ANDROID_HOME environment variable
The React Native tools require some environment variables to be set up in order to build apps with native code. Open the System pane under System and Security in the Windows Control Panel, then click on Change settings.... Open the Advanced tab and click on Environment Variables.
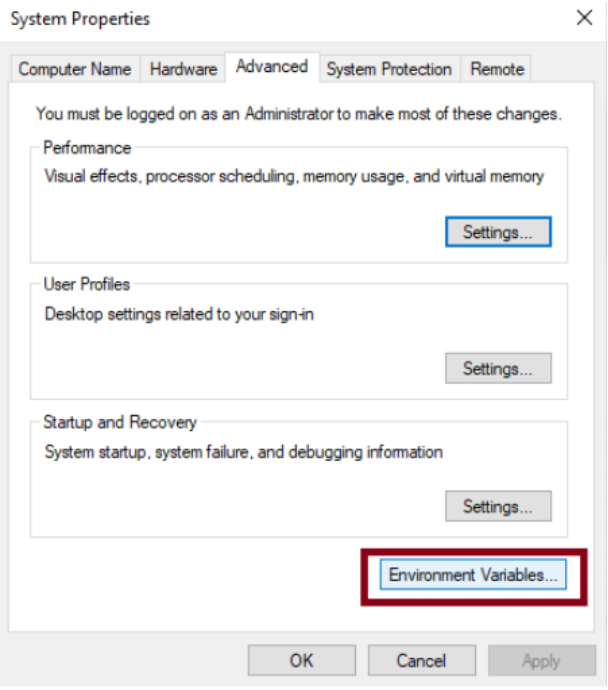
Click on New... to create a new ANDROID_HOME user variable that points to the path to your Android SDK: in my case C:\Users\frzanon\AppData\Local\Android\Sdk

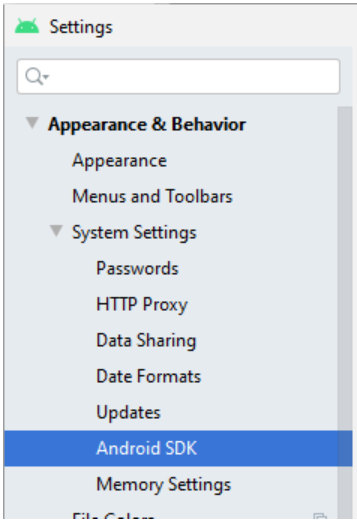
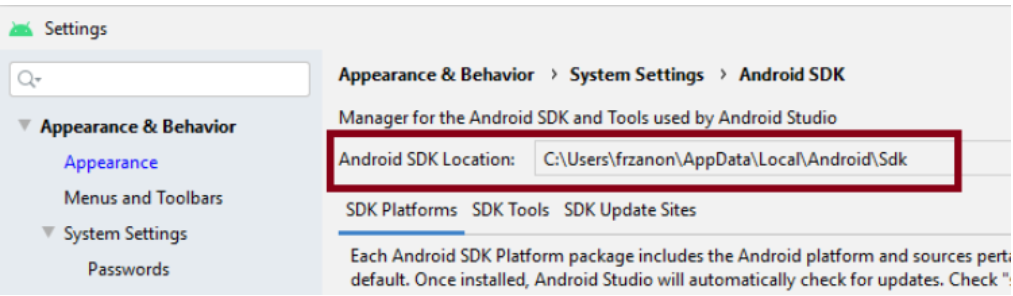
you can find the actual location of the SDK in the Android Studio "Preferences" dialog, under Appearance & Behavior → System Settings → Android SDK.
4. Add platform-tools to Path
Open the System pane under System and Security in the Windows Control Panel, then click on Change settings.... Open the Advanced tab and click on Environment Variables.... Select the Path variable, then click Edit. Click New and add the path to platform-tools to the list.
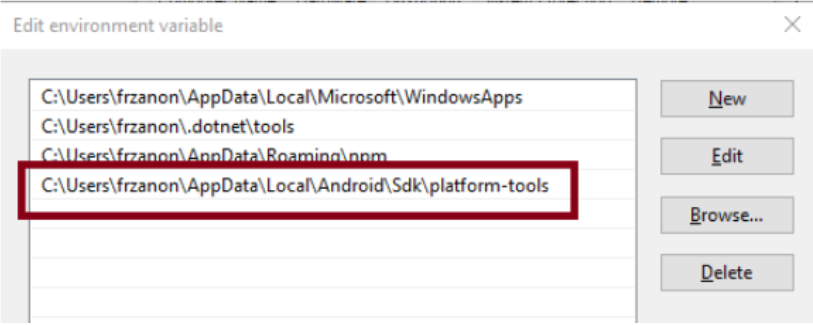
C:\Users\frzanon\AppData\Local\Android\Sdk\platform-tools
Validate Installation
We will create a project and run it in our emulator to validate that all is installed and configured OK
We will use React Native built-in command line interface. Rather than install and manage a specific version of the CLI globally, we will access the current version at runtime using npx, which ships with Node.js. With npx react-native , the current stable version of the CLI will be downloaded and executed at the time the command is run.
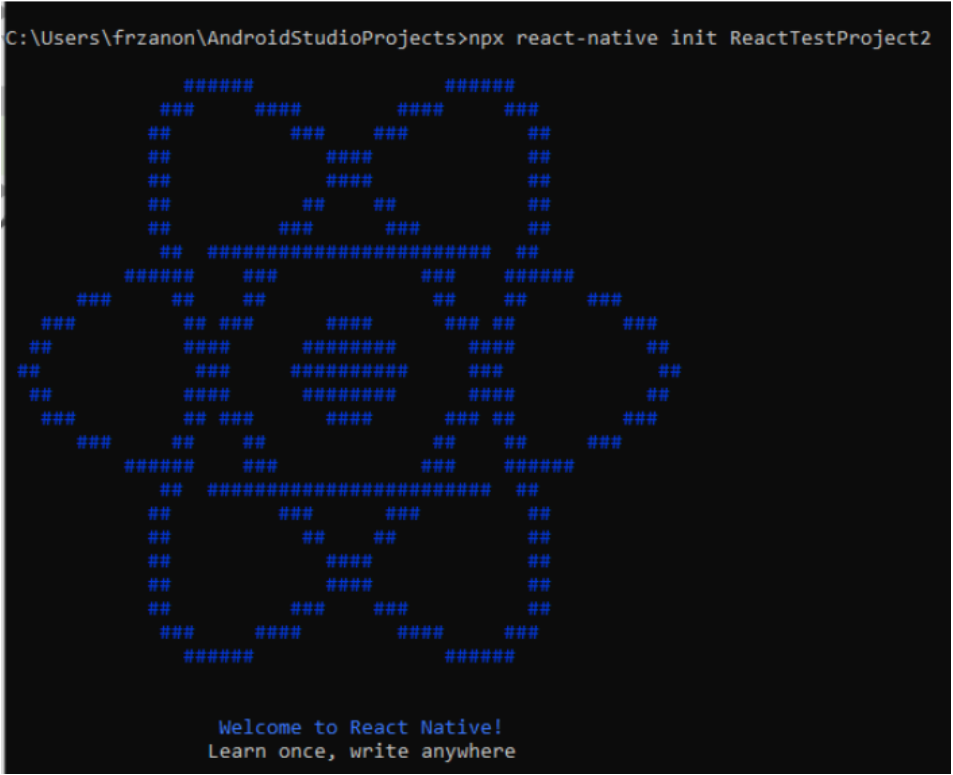
create project
With CMD navigate to the folder where we want to create the test project Run npx react-native init to create a new project.

Preparing the Android device
You will need an Android device to run your React Native Android app. This can be either a physical Android device, or more commonly, you can use an Android Virtual Device which allows you to emulate an Android device on your computer and debug. Either way, you will need to prepare the device to run Android apps for development.
Using a virtual device
you can see the list of available Android Virtual Devices (AVDs) by opening the "AVD Manager" from within Android Studio.

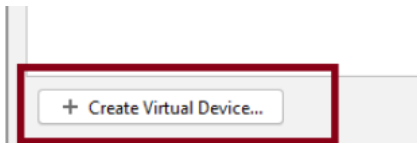
We can create new virtual devices by using the Create Virtual Device option at the bottom of AVD manager
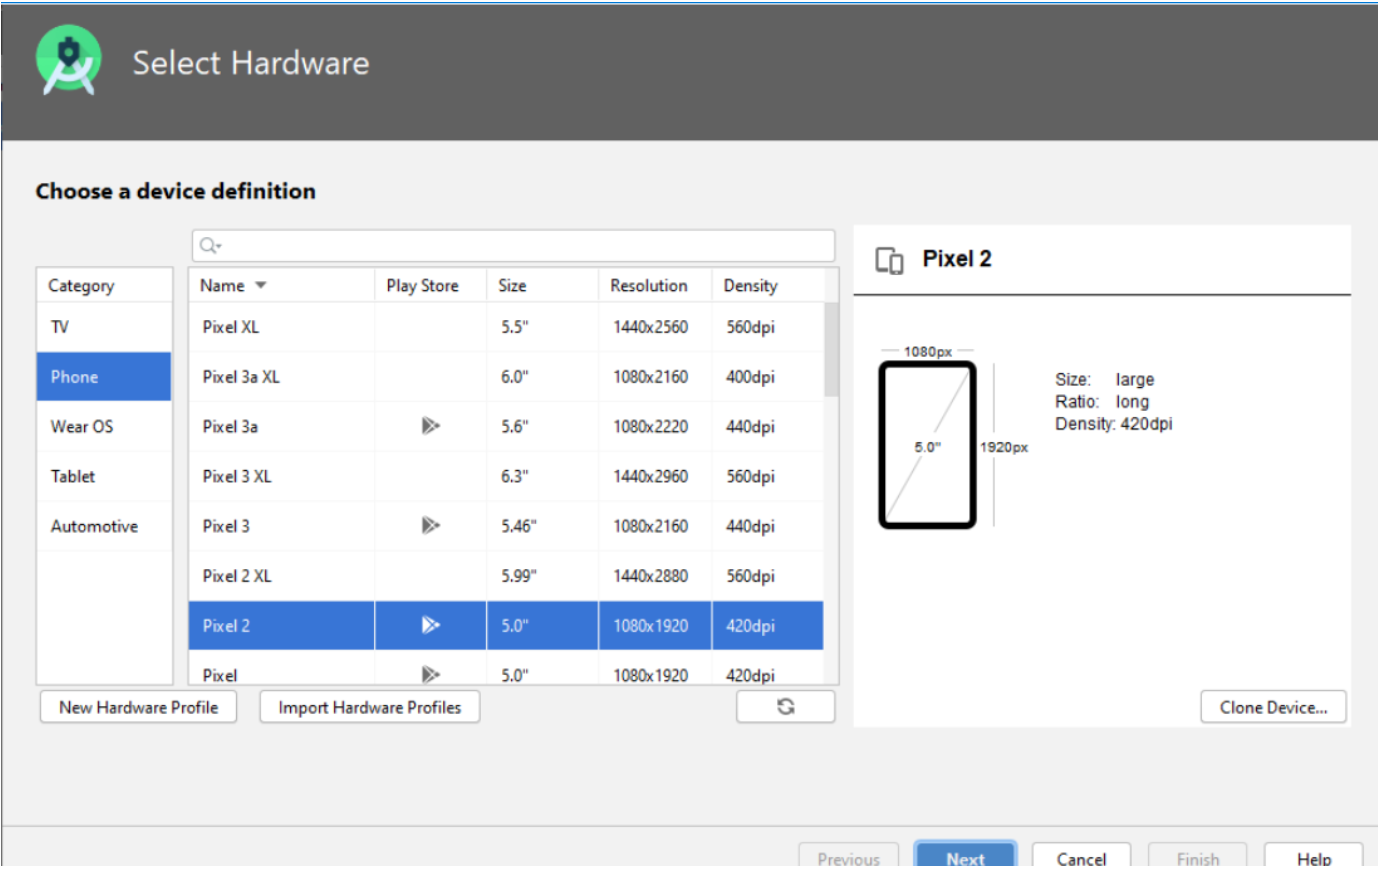
Select "Create Virtual Device...", then pick a hardware profile from the list as below and click "Next",
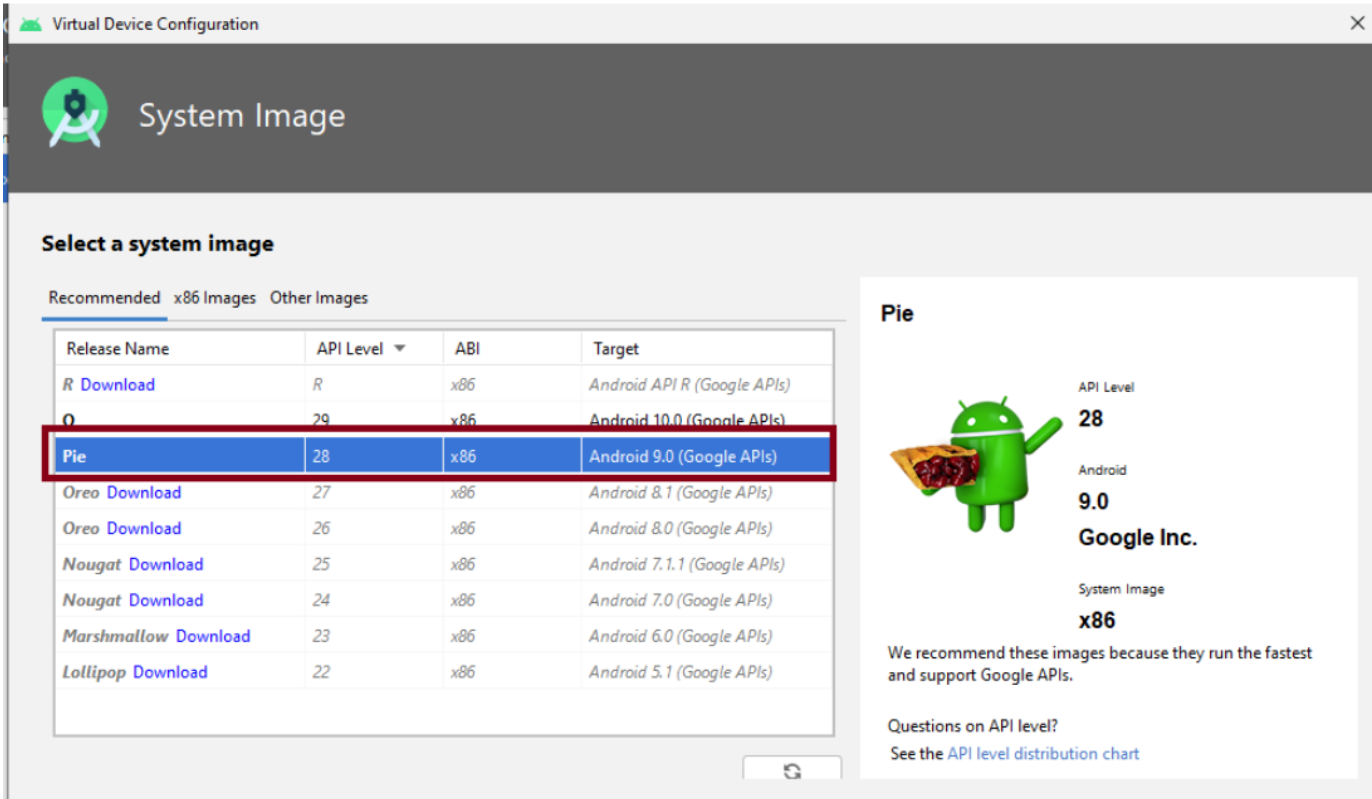
then select the Pie API Level 28 image. (first time we use an image we first have to download it)
use the green triangle on the right side to start ADV in emulator
Running your React Native application
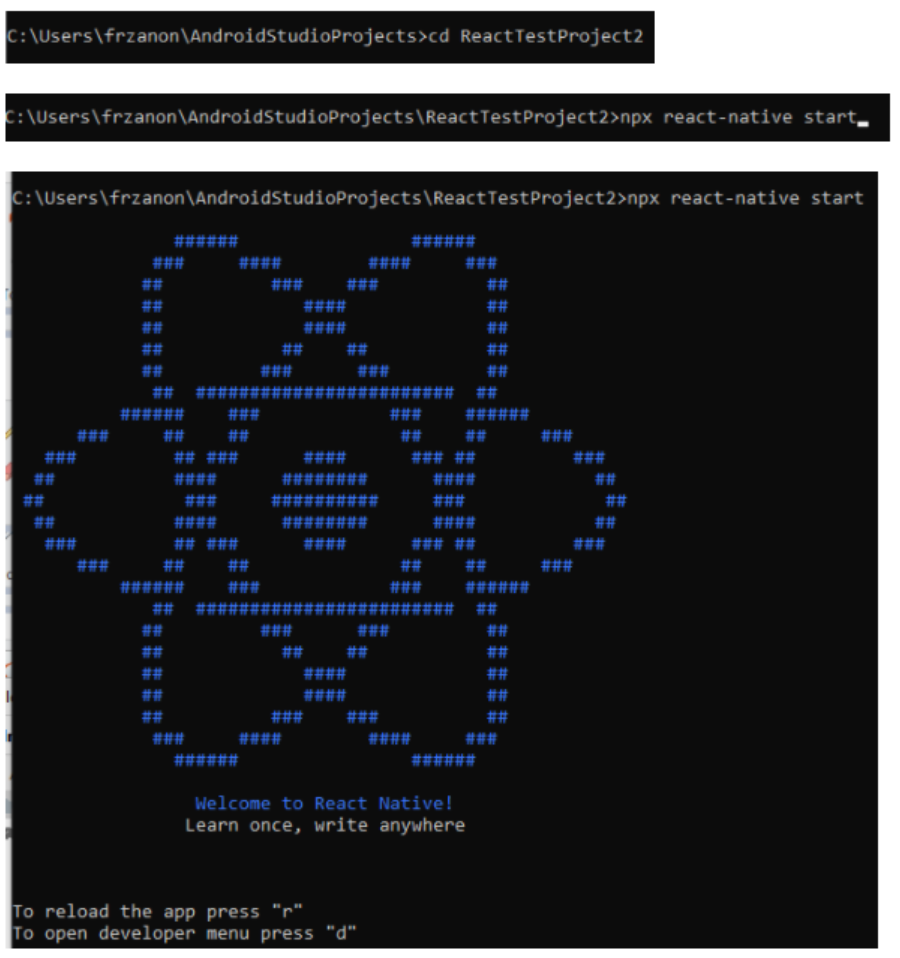
in CMD navigate to the root folder of the new created project Run react-native start inside your React Native project folder, this will start a Metro server
npx react-native start
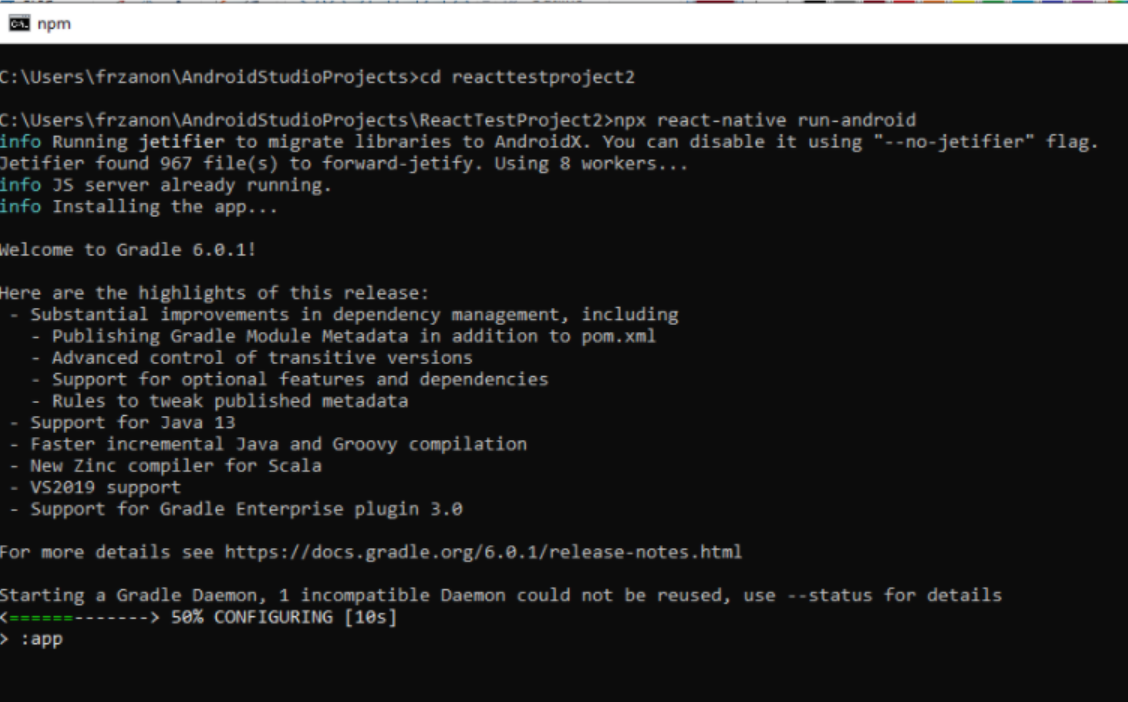
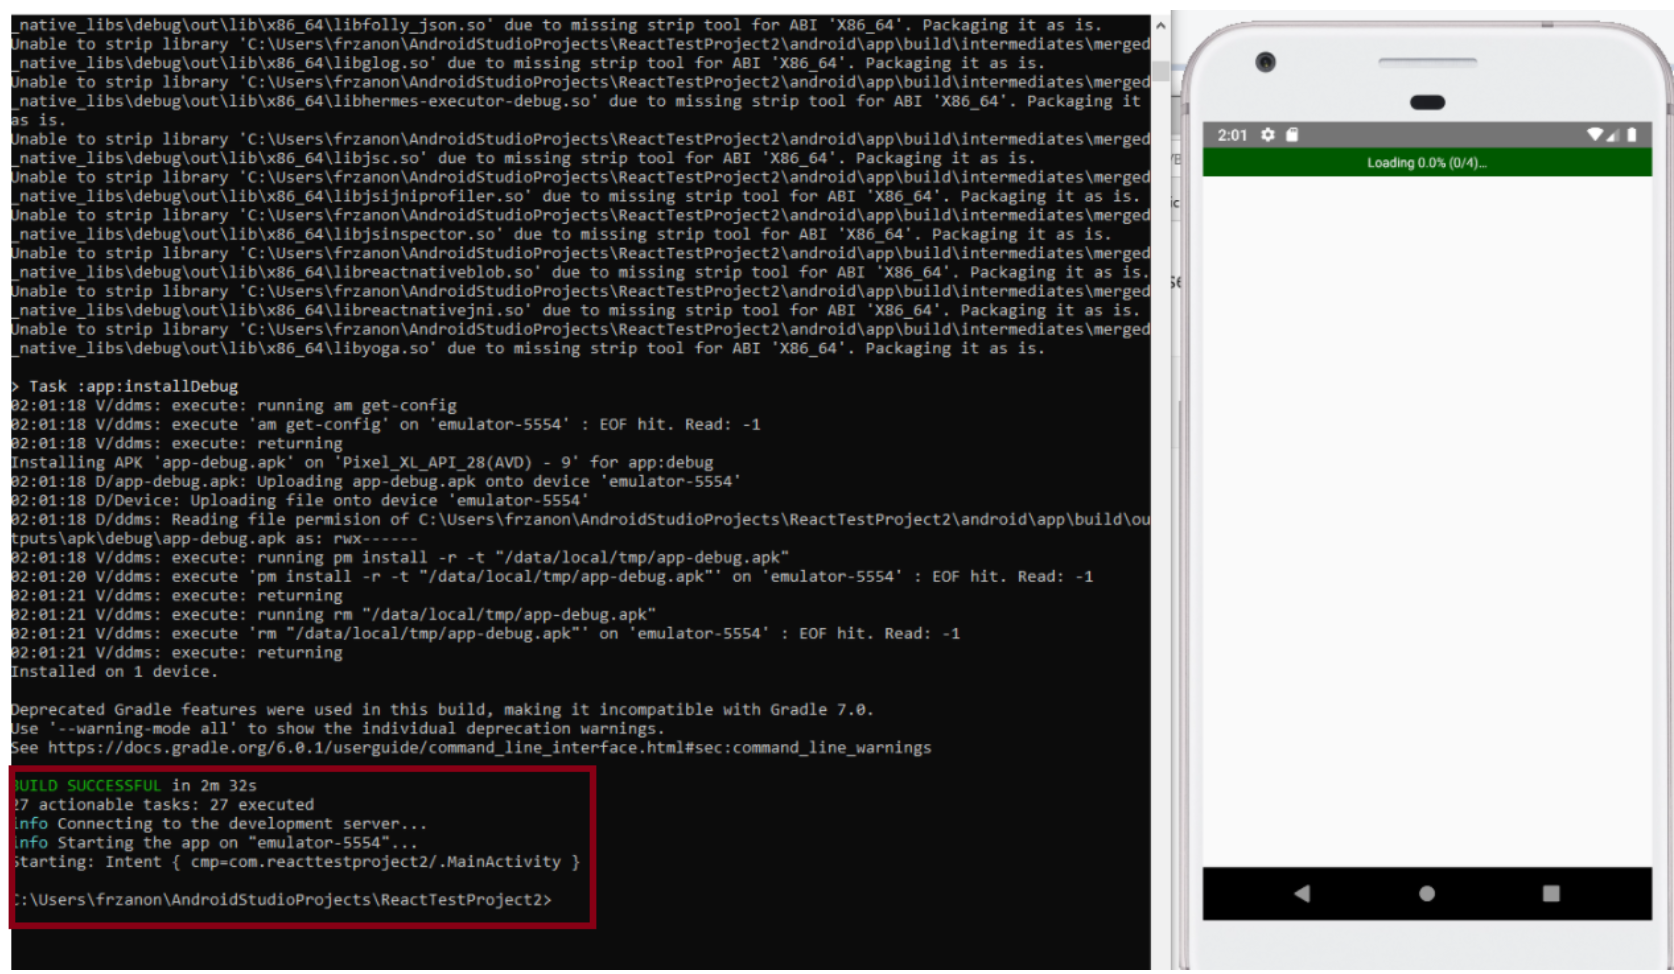
Leave Metro server window open Open a new CMD & Run react-native run-android inside your React Native project folder, this will build the application and install it in the virtual device
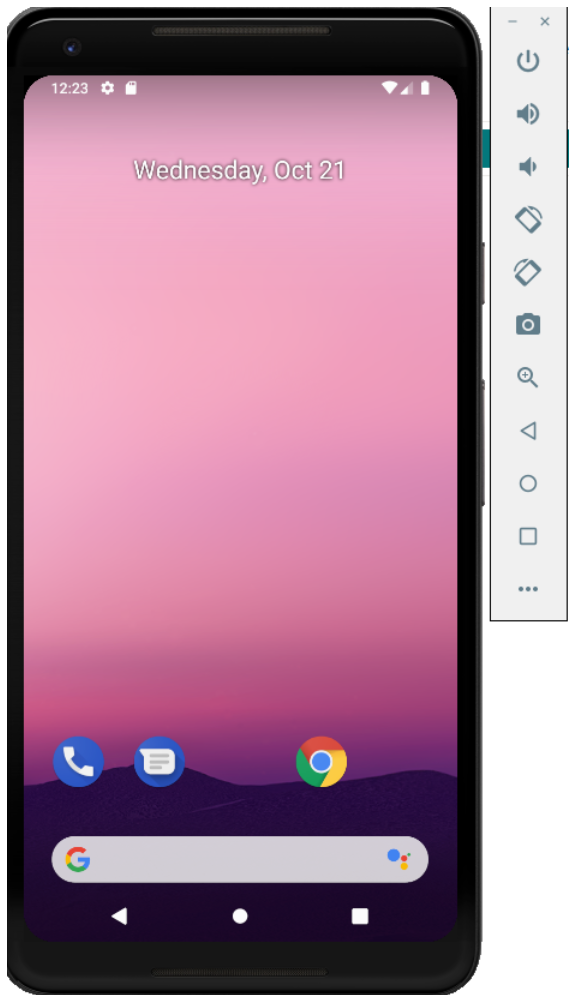
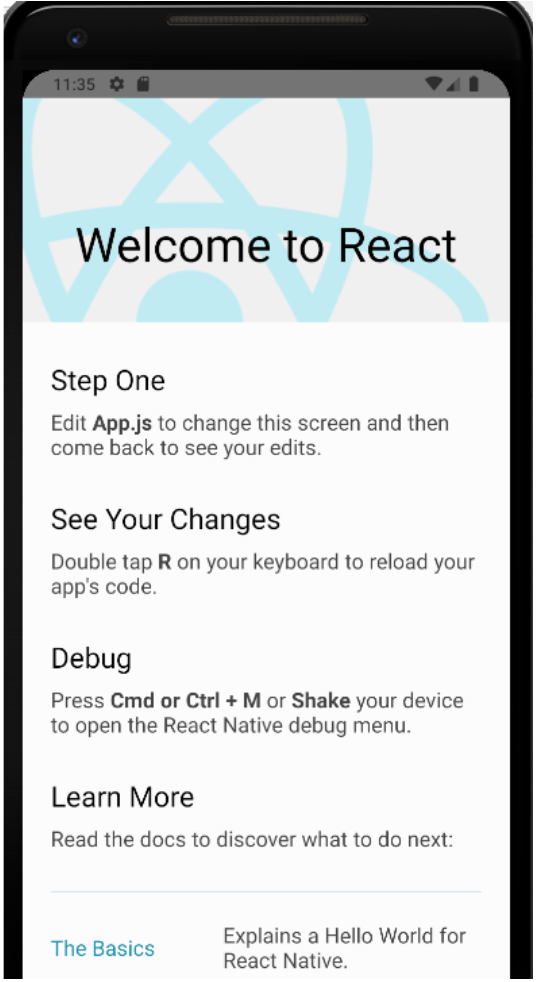
if all is setup OK, we should see app running in the android emulator
And we should see the base app template loaded in our emulator as below
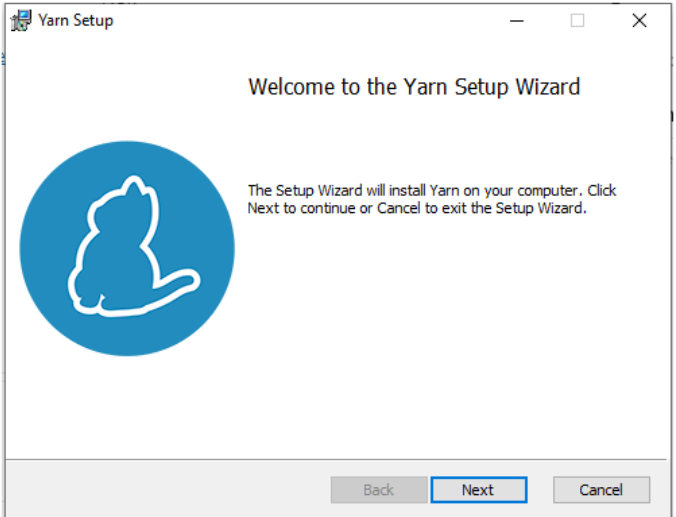
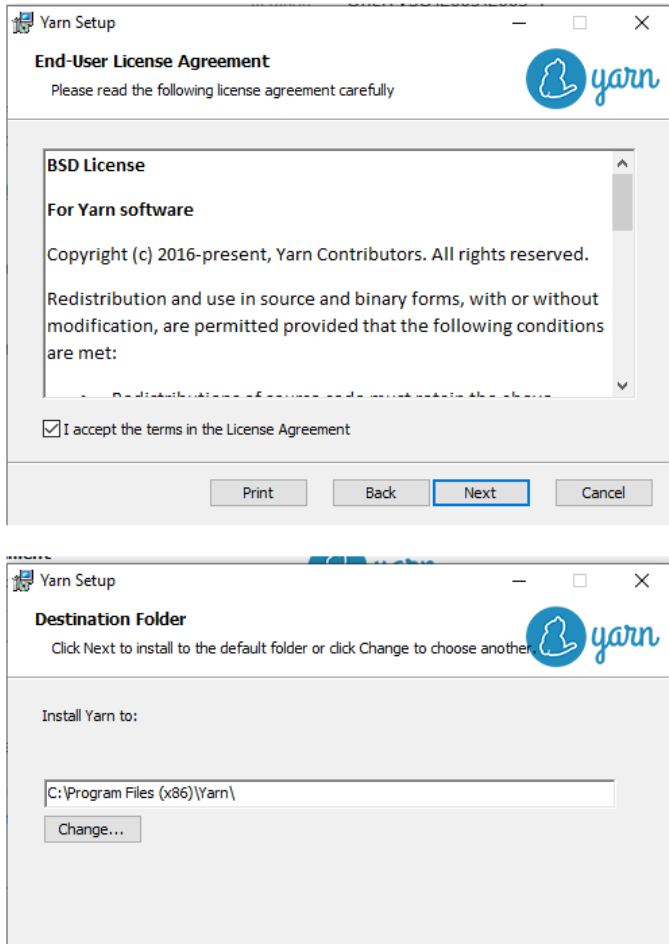
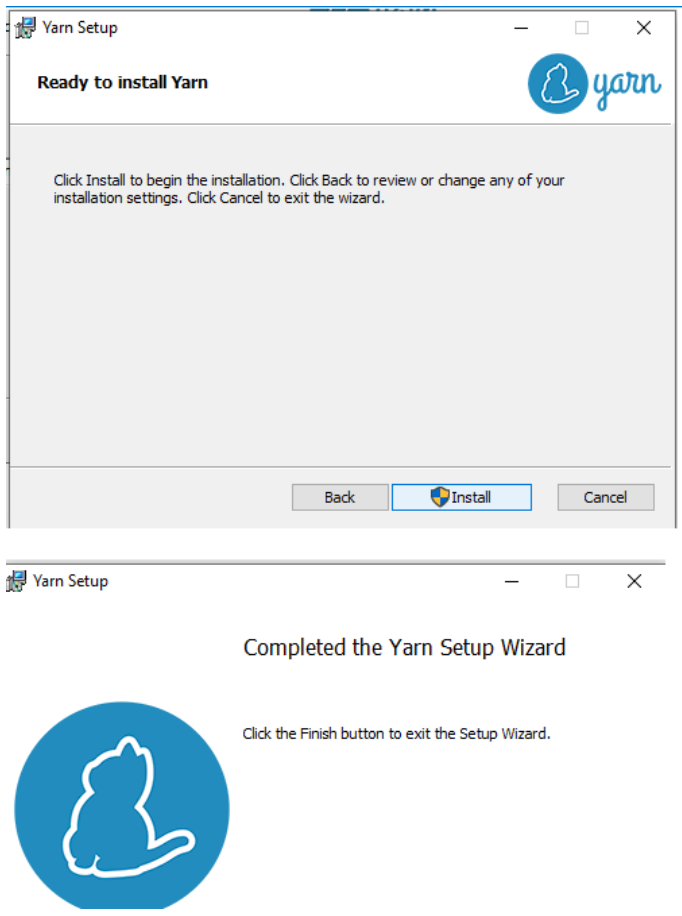
Yarn installation:
Yarn is a package manager like npm but adds some improvements when working with React Native, we will be installing it as we will use it for some commands and enable typeScript in our projects Windows: use installer from the link below
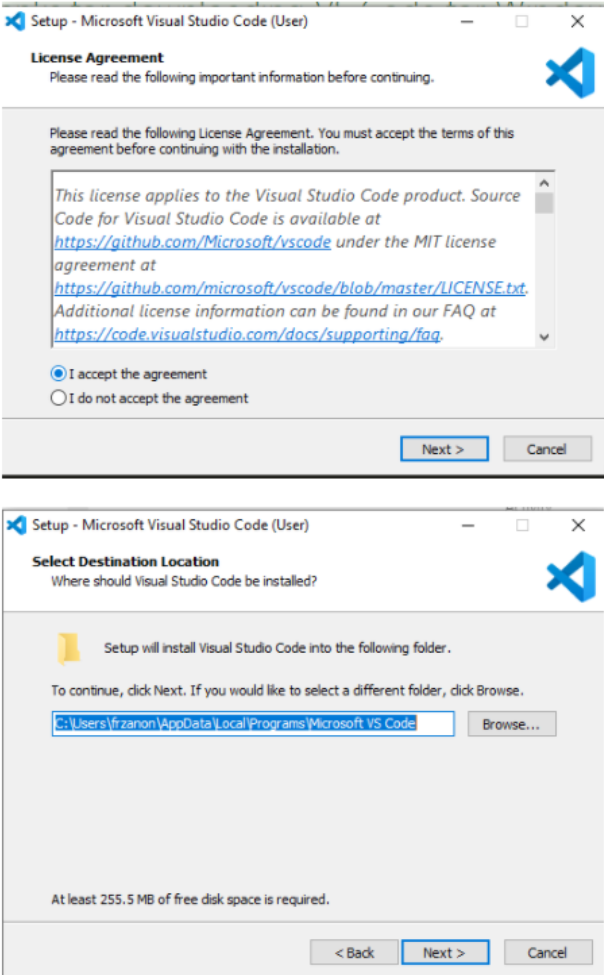
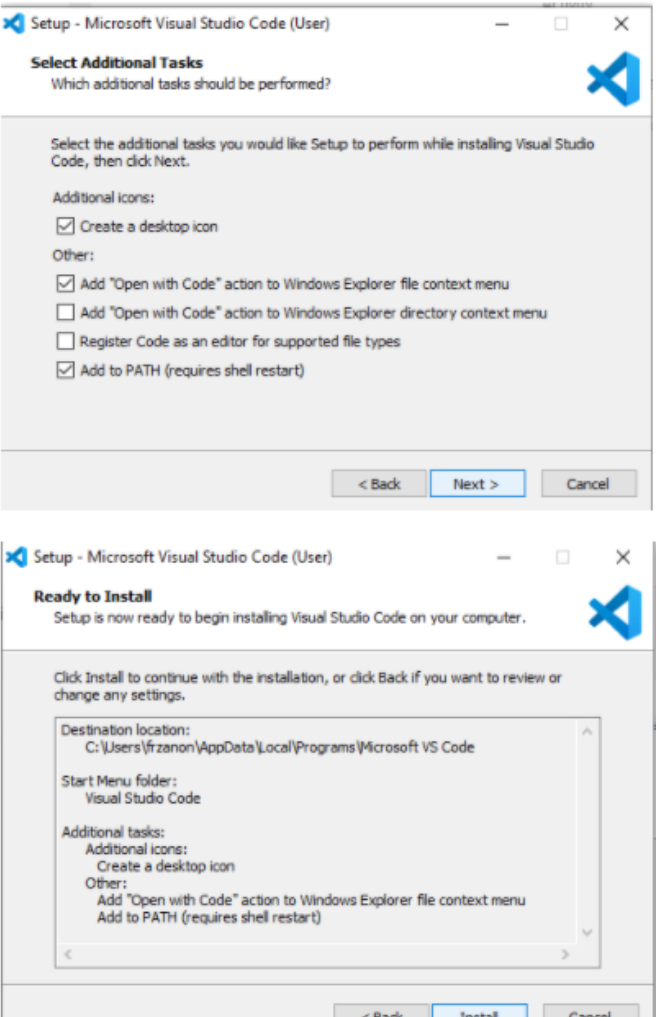
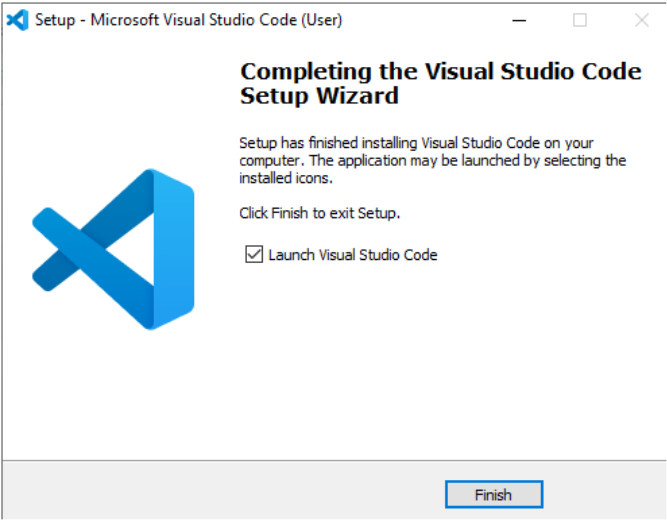
Visual studio code:
We will use VS Code as our IDE to work, download and install from the link below
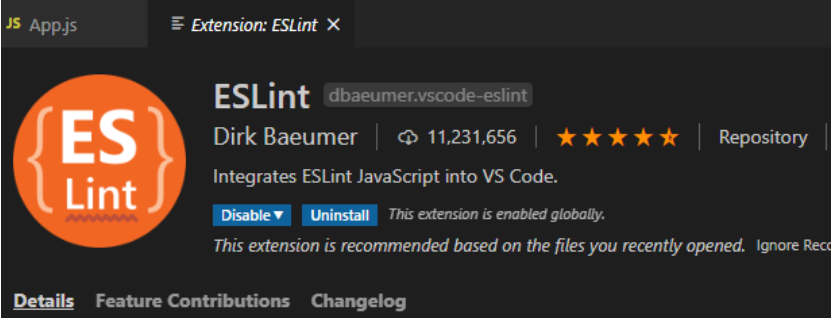
Once installed add the below extensions to VS code from the extensions panel
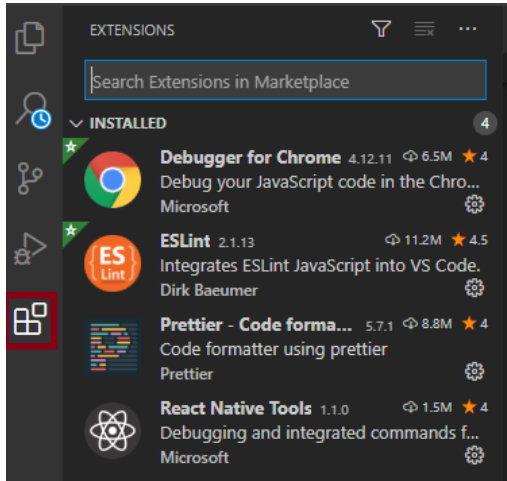
a. ESLint - Highlights and fixes lint errors.
b. Prettier - Code Formatter - Highlights and autofixes code style issues.
c. Debugger for Chrome
With all the above components we are ready to start to work in amazing React Native mobile applications!!


